
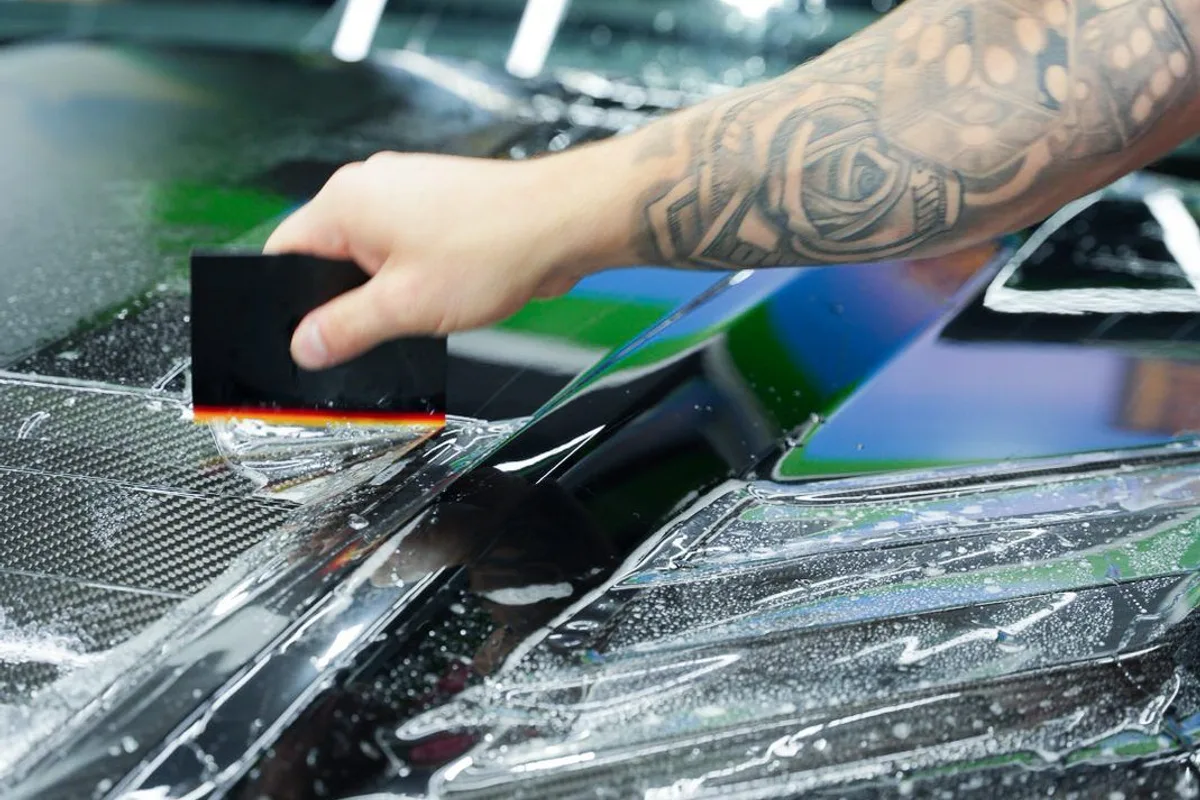
The PPF installation process is a multi-day studio workflow that cleans, decontaminates, and polishes automotive paint before computer-plotted urethane film is wet-fitted, squeegeed, edge-wrapped, and cured indoors. Understanding each bay stage explains why optically clear Paint Protection Film work requires controlled lighting, purified slip solutions, and patient adhesive settling rather than rushed express turnaround.
Vehicle owners across West Mifflin, South Hills, North Hills, and greater Pittsburgh often ask what happens between dropping off the keys and picking up a wrapped daily driver. Walking chronologically through pre-install decontamination, digital pattern plotting, slip-and-tack squeegee alignment, heat-sealed edge finishing, realistic shop timelines, pre-appointment preparation, and first-week curing care removes every surprise from your installation.
Stage 1: Deep Wash, Decontamination, and Paint Inspection
Every clean Paint Protection Film installation begins hours before urethane ever leaves the roll because transparent film magnifies any speck of dust, tar, or swirl mark trapped underneath. Even a vehicle driven straight from a Pittsburgh dealership showroom collects rail dust, road film, and panel-gap grit that will create permanent pimples under clear polyurethane if left behind.
Preparation inside Attention II Detail’s studio follows four methodical cleaning and diagnostic checks:
- Panel-gap and emblem flushing uses soft detailing brushes and foaming wash soap to clear hidden dirt out of hood seams, grille crevices, headlight borders, and mirror stalks so dirty water cannot wick back out during wet film application.
- Chemical iron and tar removal dissolves metallic brake particles and asphalt specks bonded to lower bumpers, fenders, and rockers.
- Fine clay treatment glides across lubricated panels until the clear coat feels completely glass-smooth under a gloved hand.
- Shop-light clear-coat inspection identifies wash swirls, dealership buffer trails, existing rock chips, or aftermarket repainted panels; where swirl haze is visible, targeted paint correction refines gloss first so clear film locks over crisp paint.
Owners still deciding which panels make sense to wrap before booking can read our separate guide on whether Paint Protection Film is worth it and how coverage decisions work; once your scope is set, pattern engineering begins.
Stage 2: Digital Pattern Plotting and Wrapped-Edge Preparation
Modern PPF studios cut film patterns digitally on wide-format computer plotters loaded with year-, make-, model-, and trim-specific templates rather than freehanding blades across your hood. Digital plotting matches parking-sensor cutouts, camera bezels, washer nozzles, and complex bumper intakes to millimeter tolerances before the film ever touches the vehicle.
Skilled technicians customize digital templates before hitting cut—extending perimeter margins along straight hood sides, fender arches, and door edges wherever panel geometry allows the urethane to wrap neatly behind the edge instead of stopping short on top. Tight concave recesses, badge surrounds, or bumper joints that physically cannot wrap inward without tension relief receive clean, uniform relief lines engineered to stay flat through freezing Pennsylvania winters.
With patterns weeded and inspected on a clean light table, the bay shifts into wet installation.
Stage 3: Slip Solution Positioning, Stretch Alignment, and Squeegee Work
Automotive Paint Protection Film installs wet using two purified-water mixtures—a lubricated slip solution and an alcohol-water tack solution—so urethane glides freely into alignment before its acrylic adhesive locks onto clear coat. Working inside a bright, low-dust indoor bay keeps airborne lint from floating under lifted film sheets.
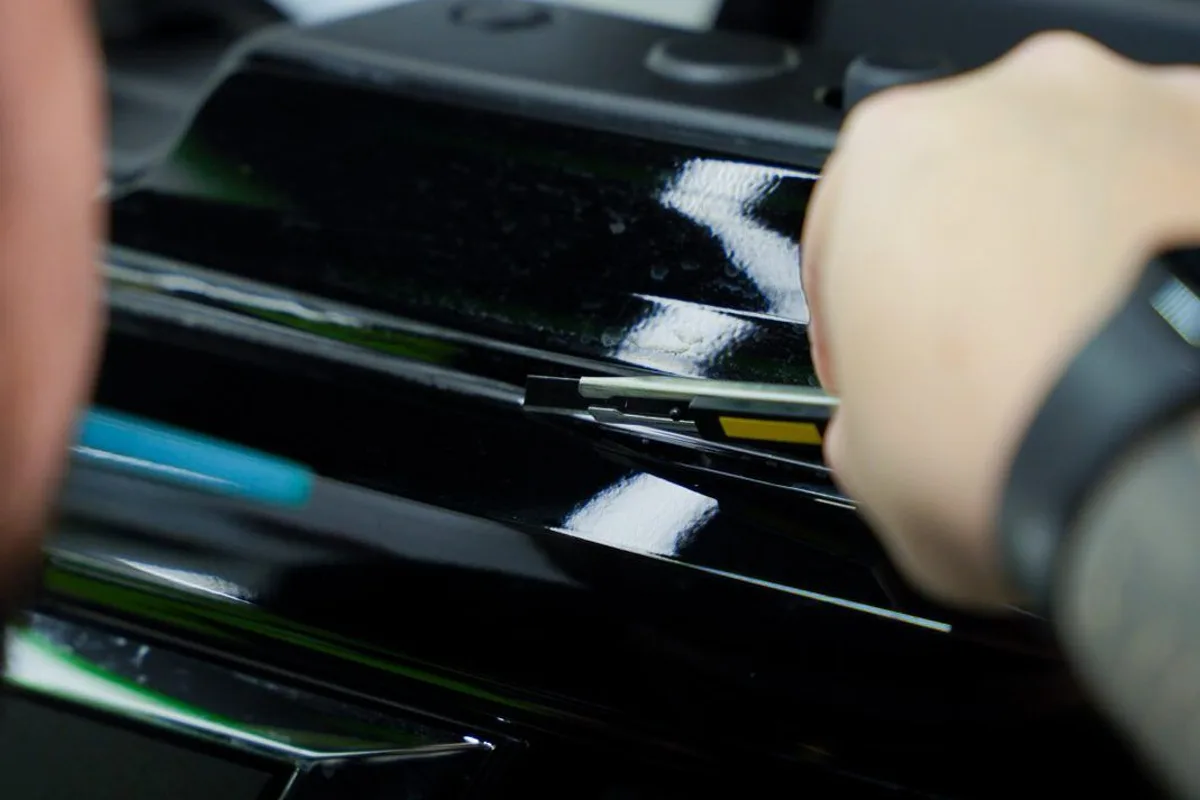
Floating and Anchoring Compound Curves
Technicians mist both the painted panel and the adhesive side of the film with slip solution so the sheet floats across sculpted hoods and compound front bumpers without grabbing prematurely. Once headlights, grille corners, and body lines line up, targeted misting of tack solution flushes away soap lubrication at key anchor points so the installer can tension the urethane smoothly across curved bumper contours without “fingers” or stretch marks.
Overlapping Squeegee Evacuation
Flexible polyurethane squeegees worked in deliberate overlapping strokes push water and micro-air pockets outward from center anchor zones toward open panel borders. Steady pressure and proper blade angles evacuate fluid evenly without bruising the film topcoat or trapping silver air streaks along raised hood creases.
After the main panel face sits optically clear and flat, technician focus narrows to the borders that separate great PPF work from rushed installs.
Stage 4: Edge Wrapping, Heat Sealing, and Overnight Quality Inspection
Clean edge finishing determines both how invisible a film install looks up close and how well seams resist salt slush and wash mitts years down the road. Residual slip moisture must be wicked completely out of panel edges before folding urethane around a lip.
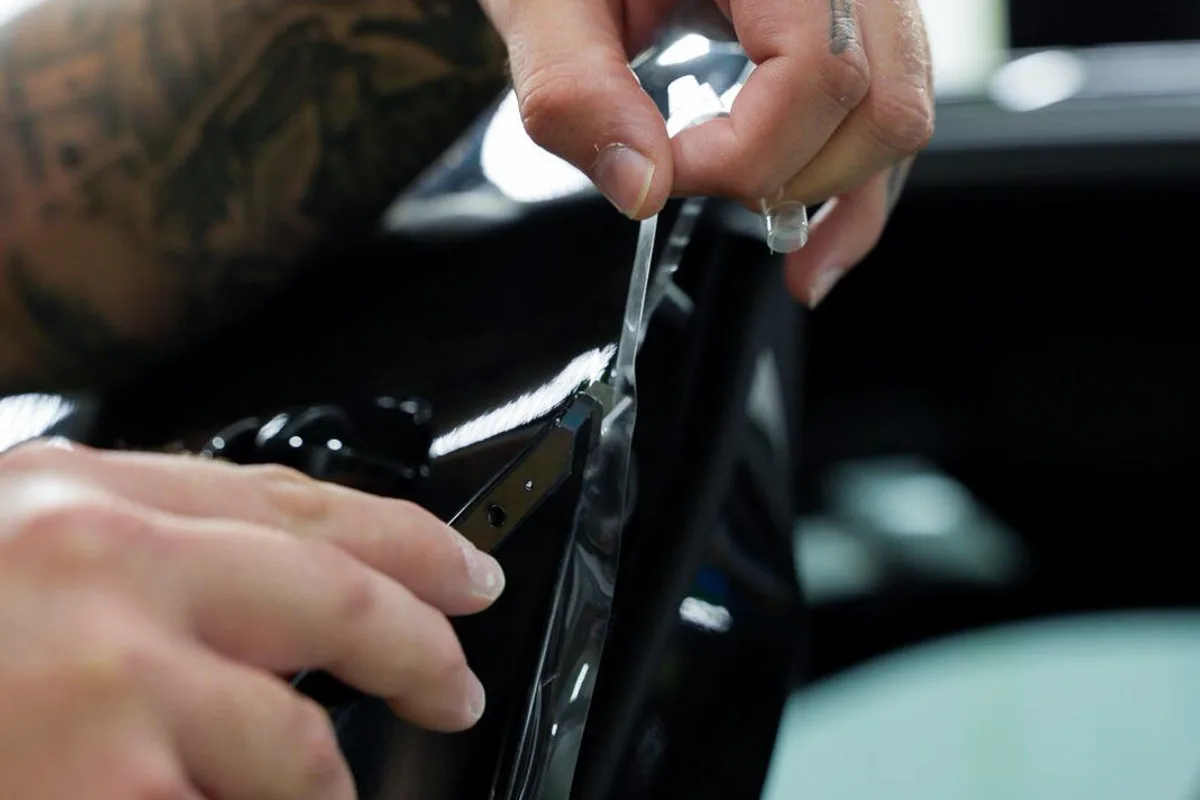
Technicians flush folded edges with tack solution, blot margins bone-dry with lint-free microfiber towels, fold extended hood, fender, and door edges cleanly onto the inner lip, and apply controlled dry heat to set the urethane’s memory so stretched curves never try to pull back flat.
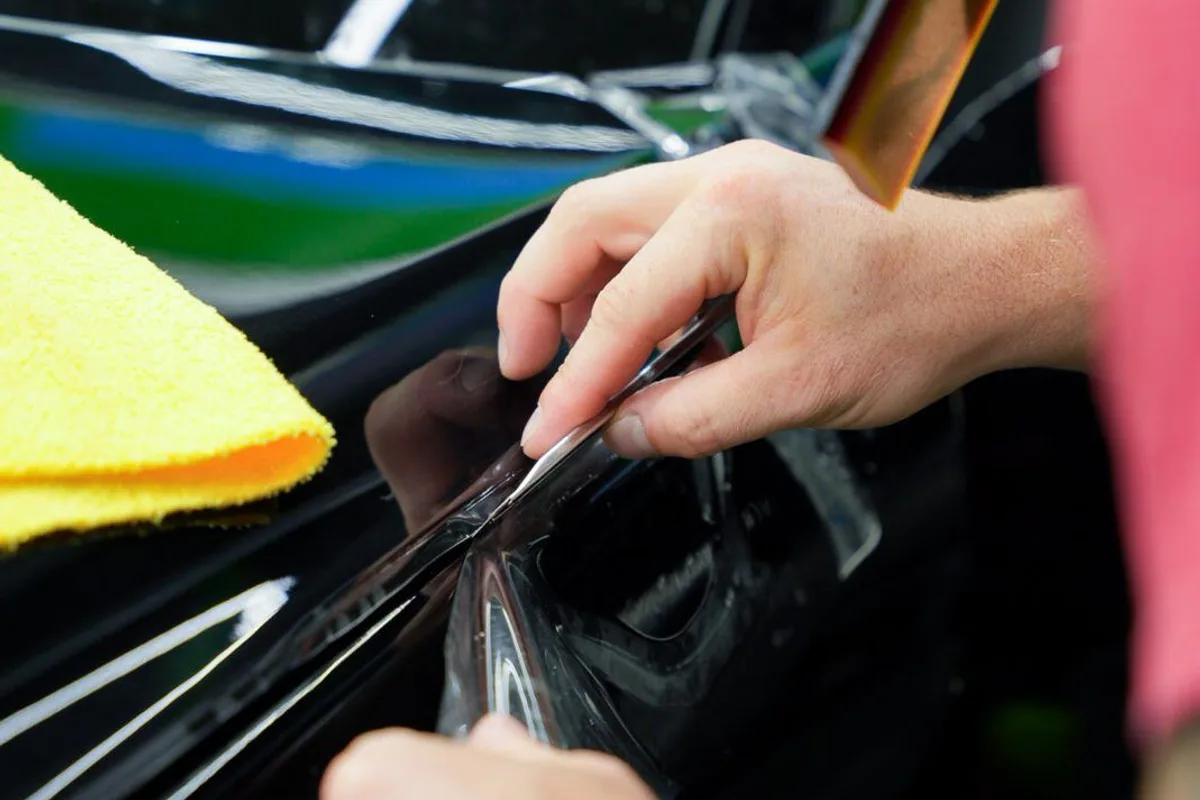
Holding the completed vehicle indoors afterward allows adhesive bond strength to climb steadily before highway wind or rain touches the car. During final post-settle inspection under angled LED lights, technicians check every corner, relief seam, and sensor ring to confirm zero lifting edges or stray debris remain.
Understanding all four studio stages makes realistic drop-off timelines easy to plan around your weekly commute.
Realistic PPF Appointment Timelines by Project Scope
Shop turnaround depends on panel count, bumper vent complexity, pre-install polishing needs, and indoor drying time rather than rushing wet edges out into cold air. Comparing typical studio windows helps West Mifflin and Pittsburgh owners arrange rides ahead of drop-off:
| Installation Scope | Typical Studio Window | Main Time Drivers Inside the Bay |
|---|---|---|
| Targeted Zones (Door Edges, Cups, Lug Sill, Mirrors) | Same day to 1–2 days | Wash, crevice degreasing, plotting, and edge heat-setting |
| Partial Front End | 1 to 2 days | Front bumper compound curves plus hood/fender alignment and overnight edge check |
| Full Front End (Bumper, Full Hood, Full Fenders, Mirrors) | 2 to 3 days | Full-panel handling, tucked hood/fender edges, paint prep, and controlled indoor settle |
| Full-Vehicle PPF Wrap (Gloss or Matte/Satin) | 4 to 6+ days | Multi-panel prep, correction, full-body custom edge wrapping, and multi-day inspection |
| PPF + Ceramic Coating Combo | Add ~1–2 days to film scope | Curing window for ceramic top layer after film edges lock down |
Exact scheduling always reflects your specific vehicle model—an intricate sports-car front fascia with ten aero ducts takes considerably longer to fit cleanly than a smooth crossover bumper—and five minutes of preparation before drop-off makes check-in seamless.
How to Prepare Your Vehicle Before Drop-Off in West Mifflin
Showing up for a Paint Protection Film appointment does not require detailing the car at home, yet sharing a few key details and skipping topical waxes saves studio prep time and helps edges bond cleanly. Five simple pre-appointment steps keep your West Mifflin drop-off smooth:
- Skip waxes, spray sealants, and quick detailers before drop-off because silicone and carnauba oils interfere with urethane tack solutions and have to be chemically stripped off anyway.
- Point out any body-shop repainted panels at check-in so technicians verify paint hardness, cure age, and edge tolerances before stretching or repositioning film.
- Decide ahead of time on front license-plate brackets or aftermarket badges and mention whether you want brackets removed so film runs unbroken behind them.
- Clear bulky cargo from the trunk and door pockets if rear bumper sills, rocker entries, or door-edge zones are part of your installation scope.
- Plan your ride around overnight indoor settling rather than rushing same-afternoon pickup in cold rain so folded hood and bumper edges reach strong initial tack indoors.
Once your vehicle completes studio inspection and you pick up the keys, simple aftercare carries that precision through the curing window.
What to Expect During the First 7 to 14 Days After Pickup
Freshly installed Paint Protection Film continues curing and breathing out microscopic residual moisture for one to three weeks after leaving the studio, especially during cool or humid Western Pennsylvania weather. Knowing four normal post-install rules protects fresh edges while adhesive reaches peak strength:
- Leave tiny water blisters alone rather than pressing or pricking them with pins; breathable polyurethane releases faint haze and pinpoint moisture pockets naturally as the car sits in sunlight, whereas poking film leaves a permanent hole.
- Wait seven full days before washing the vehicle so acrylic adhesive cures completely along tucked hood, bumper, and mirror borders.
- Skip automatic brush washes and keep pressure-washer wands back from edges once routine hand washing resumes, angling water across panels rather than into seams.
- Stop by for a quick post-cure check if invited or reach out immediately if an edge catches road debris rather than peeling at a corner with fingernails.
Following those simple first-week habits locks in years of clean, low-visibility stone-chip protection.
Schedule Your PPF Consultation With Attention II Detail
Great Paint Protection Film results come from unhurried surface preparation, accurate digital plotting, clean indoor squeegee technique, and patient edge curing rather than shortcuts. Knowing every step before drop-off lets you plan transportation confidently and inspect finished edges with a trained eye.
Explore our Paint Protection Film service page to review options for West Mifflin and greater Pittsburgh drivers, then call Attention II Detail at (412) 469-9020 or schedule an in-person inspection to map out the exact installation timeline for your vehicle.
Frequently Asked Questions
How long does professional Paint Protection Film installation take?
Installation duration scales with the number of panels wrapped, bumper complexity, paint correction needs, and indoor edge-drying time. Targeted door-edge or partial-front work often finishes within one to two shop days, Full Front installations typically span two to three days, and Full-Vehicle wraps regularly require four to six-plus days in the bay.
Why does fresh PPF have faint haze or tiny moisture pockets right after pickup?
Paint Protection Film is installed wet using purified water slip and tack solutions squeegeed from beneath the urethane. Microscopic residual moisture breathes and evaporates naturally through the porous polyurethane film over the first one to three weeks depending on Pittsburgh temperature and humidity.
How soon can I wash my car after a PPF install?
Installers generally advise waiting seven days after pickup before washing the vehicle or exposing film edges to high-pressure water. Giving the acrylic adhesive a full week to reach high bond strength around tucked edges prevents premature lifting.
Do installers cut Paint Protection Film directly on my car’s paint?
Professional shops generate vehicle-specific patterns on digital computer plotters so complex bumper sensors, emblems, and headlight openings are cut cleanly away from the car, often extending edge margins slightly so hood and fender edges tuck neatly out of sight.
Does repainted body-shop paint need a waiting period before PPF?
Freshly resprayed body-shop panels release solvents as new paint cures and harden more slowly than factory-baked finishes. Installers verify your body shop’s recommended outgassing window—commonly 30 to 60 days—before applying film so adhesive bonds safely without trapping solvent bubbles.
Why keep the car indoors overnight after film goes on?
Holding a freshly wrapped vehicle inside a temperature-controlled West Mifflin studio overnight lets technicians inspect every tucked corner, sensor ring, and compound curve the next morning after adhesive settles, catching any tiny edge tension before highway wind hits the car.


