
Ceramic coating gets a lot of attention for what it does after it’s applied — the gloss, the water beading, the easier maintenance. Less attention goes to what has to happen before it goes on, even though that preparation stage is arguably more important than the coating itself. A ceramic coating bonds to whatever surface it’s given. If that surface still has swirl marks, embedded contamination, or old wax residue, the coating will lock all of that in rather than hide it.
If you’re considering a professional ceramic coating for your vehicle, understanding the prep process will help you know what to expect, why it takes time, and why a rushed application usually isn’t a good sign.
Why Preparation Matters More Than the Coating Itself
Ceramic coating is a thin, transparent layer that sits directly on top of your vehicle’s clear coat. It doesn’t fill in scratches, it doesn’t sand down oxidation, and it doesn’t remove contamination on its own. Whatever condition the paint is in when the coating is applied is essentially the condition it will stay in — just with a protective, glossy layer over the top.
That’s why reputable ceramic coating work is never just “clean the car and spray the product.” The paint has to be brought as close to a flawless state as realistically possible first, because the coating will amplify — not disguise — anything left behind.


The Vehicle Preparation Process, Step by Step
1. A Thorough Wash and Decontamination
Before any correction work begins, the vehicle needs a proper wash designed to lift dirt without adding new scratches — not a quick rinse. This typically includes:
- A pre-rinse to remove loose grit
- A two-bucket or contact wash method to minimize swirling
- Wheel and wheel-well cleaning, since brake dust and road grime are common contaminants
2. Decontamination (Chemical and Mechanical)
Even a freshly washed car usually still has contamination bonded to the paint that soap and water can’t remove — things like:
- Tar and road grime
- Embedded iron particles from brake dust
- Tree sap, bug residue, and mineral deposits from water spots
This is typically addressed with iron removers, tar removers, and a clay bar or clay alternative, which physically pulls embedded particles out of the clear coat. Running a hand over the paint after this step (through a plastic bag, so you’re not touching it directly) should feel noticeably smoother than before.
3. Paint Inspection
Once the paint is clean and decontaminated, it can finally be assessed accurately. This is the point where swirl marks, light scratches, oxidation, and other imperfections become visible without dirt or old wax masking them. This inspection determines how much correction work — if any — is realistic and worthwhile before coating.
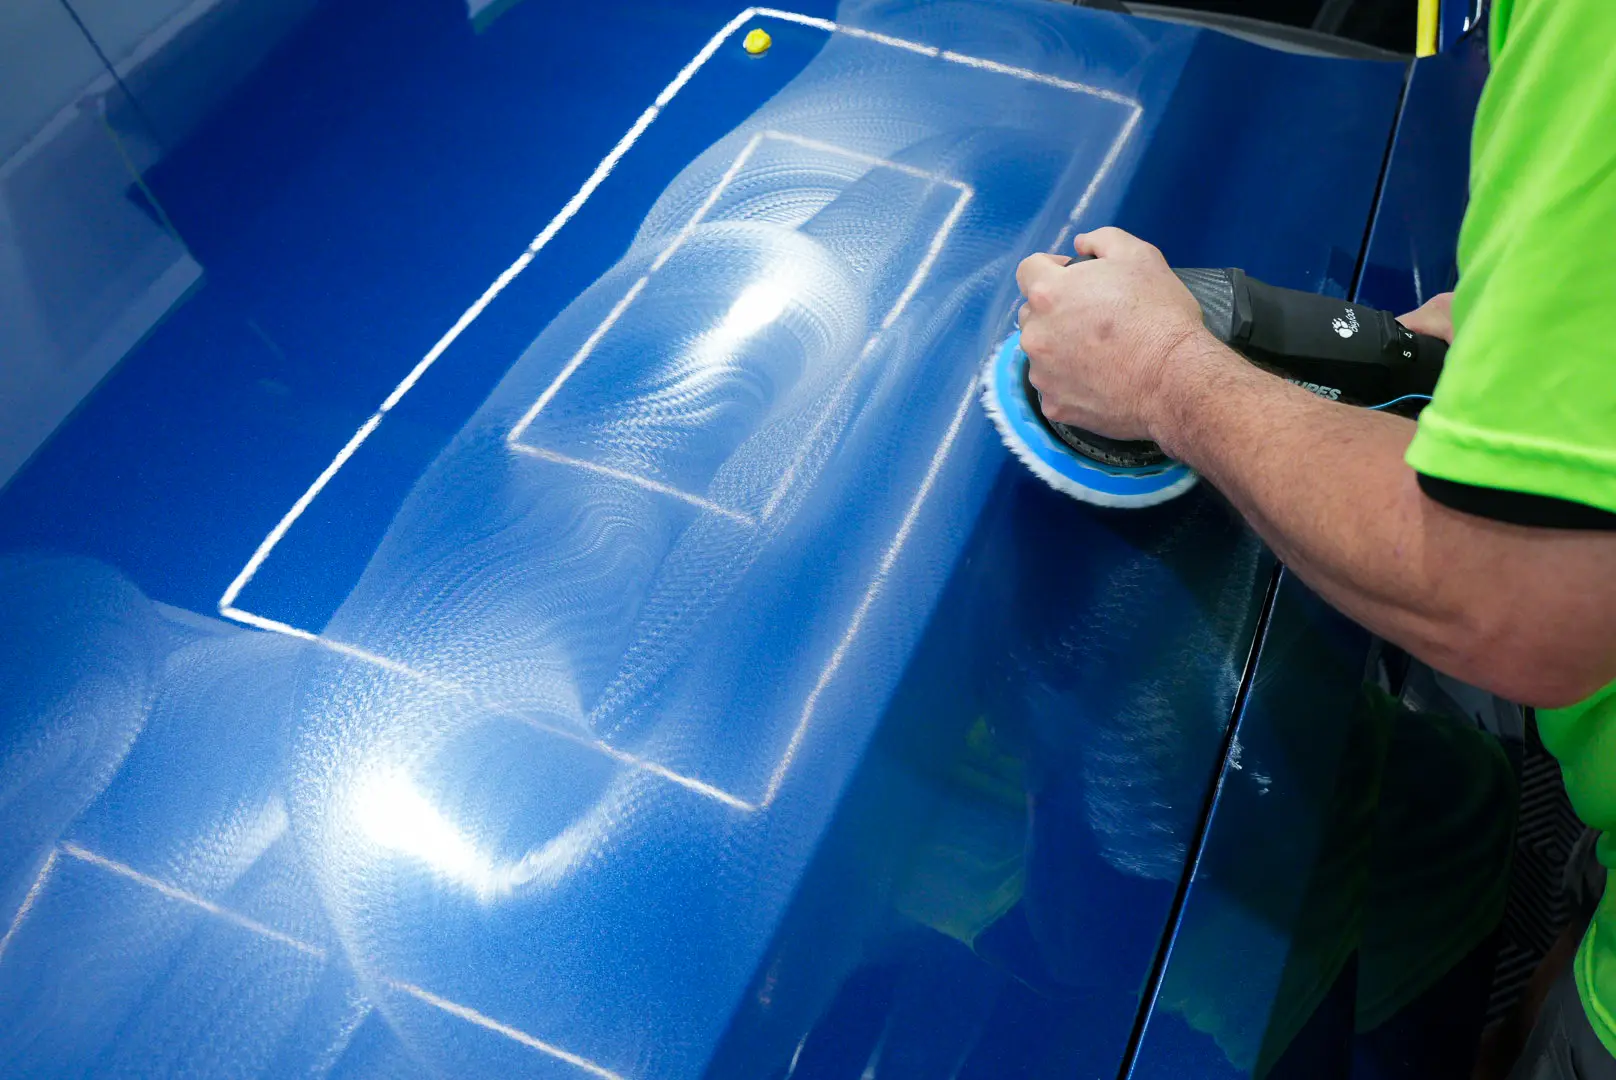
4. Paint Correction (When Needed)
Paint correction uses polishing compounds and machine buffers to level out the clear coat and reduce the appearance of swirl marks, light scratches, and dullness. At Attention II Detail, our detailers assess each panel individually to determine the safest and most effective correction approach for your paint type:
- A newer car with minimal swirling might only need a light single-stage polish.
- A car with years of automatic car washes and improper drying may need multiple correction stages.
- Deep scratches that have gone through the clear coat generally can’t be fully corrected — coating them will make them more visible, not less, since the surrounding paint becomes glossier by comparison.
This is also the stage where it’s worth being realistic: ceramic coating is not a substitute for paint correction, and no amount of coating will make deep or heavy damage disappear.
5. Panel Prep and Final Wipe-Down
After correction, the surface needs one more pass — a dedicated panel prep or paint-prep solvent that removes any polishing oils or residue left behind. Skipping this step is one of the most common causes of coatings not bonding properly, because the coating needs direct contact with bare, clean clear coat, not a film of leftover polish.
6. Environment and Application Conditions
Ceramic coating needs a controlled environment to cure correctly — low dust, consistent temperature, and no direct sunlight during application. This is part of why coating is typically done indoors in a dedicated space rather than outdoors in a driveway.
7. Application and Cure Time
Once the surface is fully prepped, the coating itself is applied in thin, even sections and given time to flash and bond before the next panel is worked. After application, most coatings need an initial cure period (typically 24 to 48 hours) before the vehicle should be exposed to rain or driven normally, followed by a full multi-day curing window before the coating reaches its final hardness.
What Happens If Prep Steps Are Skipped
Shortcuts during prep are one of the biggest reasons ceramic coating results disappoint people. Common outcomes include:
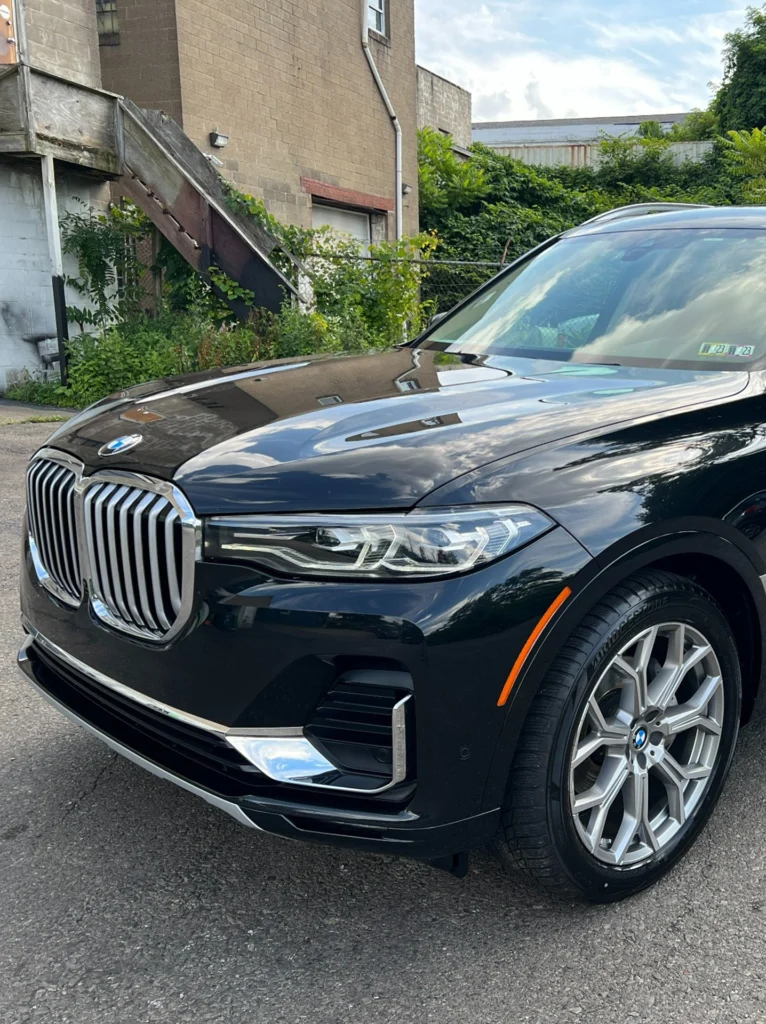
- Swirl marks becoming more visible, since the added gloss and depth from the coating makes surface imperfections stand out more, not less.
- Contamination getting sealed in, meaning embedded particles stay locked under the coating instead of being removed.
- Poor bonding and reduced durability, since coating applied over polishing oils or wax residue may not adhere properly and can fail early or wear unevenly.
This is also why ceramic coating pricing varies so much between shops — a quote that skips decontamination and correction is a quote for a fundamentally different (and shorter-lasting) service than one that includes it.
How Long Does Preparation Take?
Preparation time depends heavily on the vehicle’s current paint condition. A well-maintained car with minimal swirling will need far less correction time than a vehicle that’s spent years going through automatic car washes. At Attention II Detail, a standard ceramic coating service typically ranges from a full day to multiple days, ensuring ample time for meticulous prep, multi-stage paint correction, and proper indoor curing.
Getting Your Vehicle Ready Before Your Appointment
While the technical prep work is handled by the detailer, there are a few things worth doing before your appointment:
- Avoid waxing or applying any spray sealants in the weeks leading up to your appointment, since these can add another layer that needs to be stripped before correction.
- Let the shop know about any known problem areas — a spot where something was spilled, an area that’s been scratched, or a panel that’s been repainted — so it can be assessed properly.
- Plan for the vehicle to be out of use for the full prep-and-application window, since rushing either step compromises the result.

Frequently Asked Questions
Does every car need paint correction before ceramic coating?
Not necessarily. A newer vehicle in excellent condition may need only light polishing, while an older or heavily used vehicle usually benefits from more thorough correction. The right amount depends on an in-person inspection.
Can ceramic coating be applied without paint correction?
It can, but any existing swirl marks, scratches, or contamination will still be visible underneath the coating — the coating adds gloss and protection, not correction.
Will ceramic coating fix scratches?
No. Ceramic coating is a protective layer, not a filler or repair product. Scratches that have gone through the clear coat need paint correction or bodywork, not coating, to be addressed.
How smooth should the paint feel before coating is applied?
After decontamination, running a gloved or bagged hand over the paint should feel glass-smooth, with no gritty texture. That texture indicates remaining contamination that needs further treatment.
Is it normal for prep to take longer than the coating application itself?
Yes, in many cases. Decontamination and correction are often the most time-intensive parts of the overall process, since they directly determine how the final result looks.
Can I wash my own car before dropping it off for ceramic coating?
A basic wash beforehand doesn’t hurt, but it won’t replace the professional decontamination and correction process, so there’s no need to attempt paint correction yourself.
Protecting Your Investment
Ceramic coating is only as good as the surface it’s applied to. The steps that happen before the coating goes on — washing, decontamination, inspection, and correction — determine whether the final result looks genuinely improved or simply glossy and unchanged underneath.
If you’re weighing ceramic coating options for your vehicle, ask any detailer about their exact preparation standards. To schedule an inspection or learn more about our process, visit the Attention II Detail ceramic coating service page or contact our shop directly.


